Your concrete driveway looked fresh for a few years and served its purpose, but now it’s time for an upgrade? It’s natural for concrete to lose aesthetic appeal after some time. That’s why you’re thinking of installing concrete pavers. And it might be the best decision for your driveway.
If you don’t know how to install pavers over concrete, don’t worry. We are going to help you with that. In this blog, you’ll learn all the details about installing pavers. With our tips and tricks and a full step-by-step guide, you’ll be a pro in no time. Hopefully, after learning how to lay pavers over concrete, your driveway will look better than ever.
Why You Should Choose Pavers Over Concrete
Concrete is prone to cracks after a few years in the Sun, and it doesn’t look its best when those imperfections become more visible. Of course, concrete driveways are less expensive than concrete pavers. The price is one of the main reasons most driveways are made out of concrete. But installing pavers over concrete driveway has its perks.
The first and the most obvious reason is visual. Concrete pavers come in hundreds of colors. You can also choose from a variety of styles and textures and arrange the pavers in a unique pattern. If you know how to lay pavers over concrete, you can make your driveway stand out and create a real work of art in front of your house. The options are unlimited. All you have to do is choose a design.
Adding value to your house is another plus to have in the back of your head. Concrete pavers have a premium look which a regular driveway simply doesn’t. Your home will look more luxurious if you install pavers over concrete driveway. If you’re thinking about moving and selling the property in the future, you’re making a step in the right direction.

Installing Concrete Pavers Depending on Your Current Situation
There are two main options when installing pavers in your driveway. It depends on whether you already have concrete in your driveway or not. If you don’t, then your go-to is a regular install. You or a contractor starts from scratch and lays down sand and pavers on the ground. This technique can also be used if your concrete has severe damages and can’t be used as a base for what’s to come. On the other hand, if you already have a proper concrete driveway but wish to have pavers on top of concrete, you are looking at an overlay. The pavers will go straight on what you already have, and your job will be a lot easier.
What Tools and Materials Will Be Necessary?
This is the first checklist you need to complete if you want to know how to install pavers over concrete. You can’t do any job without the right tools. And you can’t do this job without the materials.
Luckily, your toolbox doesn’t have to be too large to do this job. If you have a shovel and a caulk gun, you can improvise with everything else. It would be good to have chalk and rent a plate compactor, but that’s your choice. Of course, to be safe, you should wear gloves when you do this job.
When it comes to materials, glue and sand are a must-have. It would be good if you have concrete cleaner to start the job. But if you don’t, water will do.
How to Install Pavers Over Concrete
Step 1 – Plan Ahead and Clean the Concrete
If you desire to work with two types of pavers, you’ll need to plan before you start working. This means you can’t just start putting pavers on top of concrete anywhere you’d like. If you’re working with pavers of different thicknesses, laying out the border would be the best way to start.
But before you do that, you’ll need to clean the edges of your concrete driveway. Using a brush and some water to scrub the edges is the easiest technique for this job. If you have some, you can add some muriatic acid to the water or just use a concrete cleaner. Pavers and glue stick better to clean concrete. Once you’re done with the cleaning, you can start laying pavers on top of concrete.
Step 2 – Glueing the Edges
Outline the edges and trace where the pavers must go before you start putting down pavers over concrete driveway. Since it washes away easily, it’s best to use chalk for this.
Once you have your guide, you can start laying down pavers. Put some glue on the concrete, as well as the sides of the pavers. This way, there will be no room for sand or dust to go between your concrete pavers. If you’ve added too much glue and some of it squishes up, don’t worry. Don’t try to wipe it, and you’ll be fine. If you let it dry, the glue will be easily removable with a knife.
Step 3 – Laying Down the Sand
The border pavers are a bit thicker than the ones going in the middle of your driveway. Since you want your driveway to be even, you’ll need something to compensate for the thinness of the inside pavers. That’s where the sand comes in. Of course, it also helps with draining water away from the pavers.
Put down an inch-thick layer of sand and “tamp” the entire field. Make sure to even the driveway before you start laying down pavers.

Step 4 – Laying Down Pavers and Cleaning Up
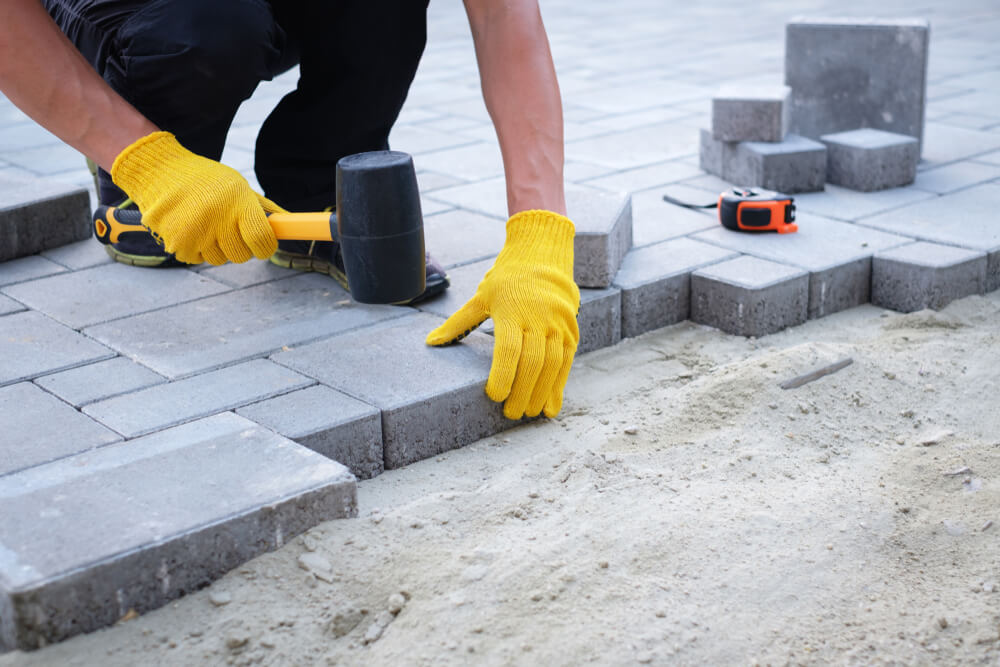
You can begin finishing the job once you have the edges and the sand is in place. Put down the pavers and glue them together. Afterward, remove the excess glue and sweep the unnecessary sand.
Hiring a Professional Is the Way to Go
Even though we helped you learn how to lay pavers over concrete, hiring a professional to do the job for you is always the safest way to go. If you have special requests and want your driveway to look perfect, the pros will definitely do a better job than a beginner like yourself. Specific demands like driveways with unusual shapes and complicated patterns aren’t something amateurs deal with appropriately. If you aren’t confident in your skills, you may end up making mistakes which will cost you more than hiring a company in the first place.
If you need someone to do a great job and make your driveway just the way you desire it to be, look no further. That’s where Cricket Pavers come to hand. Contact us for any paving needs! And check out the rest of our blogs for more ideas!


