Installing pavers in your driveway is a DIY (do-it-yourself) project that can be completed easily. However, you may lack the confidence to take on this DIY task. That is most likely because you do not have a step-by-step guide to paver driveway installation. We have you covered!
A simple how-to install pavers guide:
- Measure the Area
Before you begin, measure the area with an overlap of about one foot on each side. You will also need to consider the slope away from the building, and other structures in order to prevent pooling. Once you have the area you want to cover, you can consider the price, and quantity of pavers you will need.
Remember to also consider the color, style, and shape of the concrete pavers as well as how they work with your current style of landscaping and architecture.
- Set the Base
If your driveway is intended to support the weight of a full-size vehicle you will need to create a solid base. First, dig a base for the foundation that is approximately 11” deep. Fill the space with your choice of materials (crushed gravel, stone, etc.) and then use a compactor to create a base about 6” deep when compacted. Create a strong, sturdy base and continue to set another layer, compacting the base to a grade 3 ½ inches from the finished look.
NOTE: Remember to always check on the slope to continue to draw water away from your structure at a rate of approximately ¼” for each foot of concrete pavers. You will need to constantly be using a level to ensure the slope is correct.
Hold the edges of the pavers with concrete, lumber, or PVC pipe, and give any type of accent style you desire to the edge of the pavers. Lay a bed of sand about 1” deep, and 12” wide, spreading the material across the top to eliminate any uneven areas.
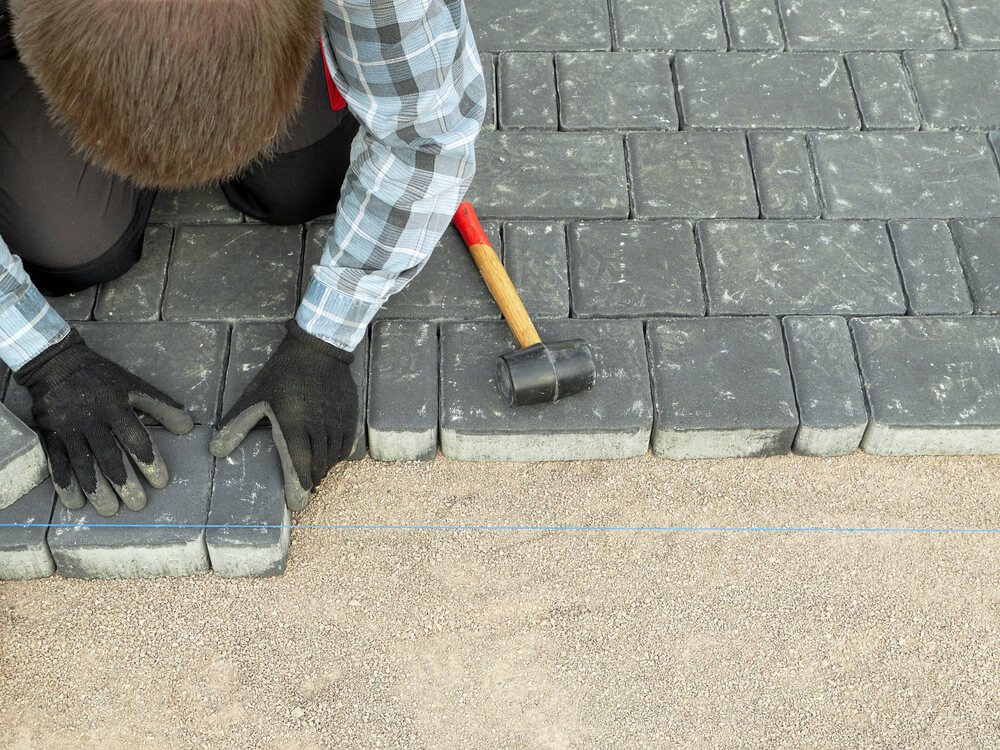
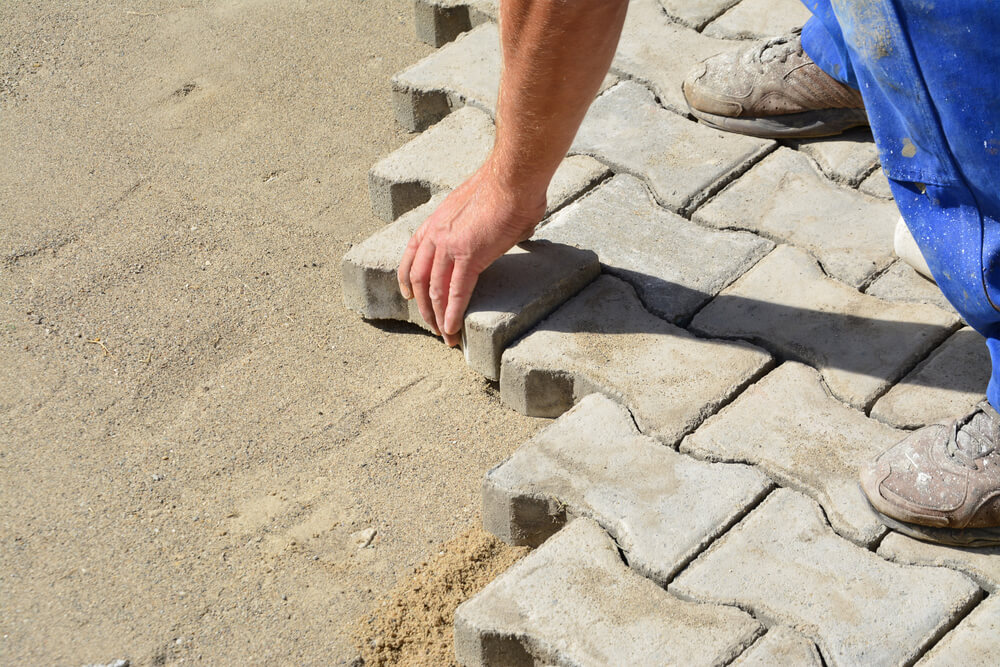
- Installing the Pavers
When you have completed the other steps, lay the cement pavers down starting at the top of the slope. It is recommended that you work your way from a corner section, from left to right in order to avoid any confusion during the process of paver driveway installation. Being careful to keep all of the expansion joint lines aligned, use chalked string to ensure straight lines along with the pavers.
Spacers are commonly used at a width of ⅛” to create a pattern, as well as spacers on all four sides of the area. When you reach the end of a row, adjust the pavers to fit your desired pattern. You may need to rent a diamond blade saw if you do not already have access to this type of tool. Additionally, you can use a hammer, and chisel to cut the pavers.
- Finishing the Pavers Driveway
Using a large broom, sweep the surface of the pavers. Then, using the same sweeper, cover the surface of the pavers with sand, or another fine filler material. Covering the top of the pavers with the filler, allowing the material to fill into the ⅛” spaces between the pavers you set earlier.
Using a compactor, tamp down the pavers, and repeat the process of spreading sand between the cracks, and dampening the area with water. Add more sand, allowing the material to settle between the pavers. When you have completed the process, sweep the top of the concrete paver driveway for a polished look.
You might be intimidated by a DIY project like installing pavers – but you do not need to be. People just like you are tackling these simple paver driveway installation projects with nothing more than a simple step-by-step guide.
Installing pavers is easier than you think, but you may need support. Call the offices of Cricket Pavers to talk to a home improvement professional that can put your mind at ease, and help you get started installing pavers, today!